
Our vehicle, we are very particular about it, aren’t we? Well, think of your pram or stroller as a vehicle for your baby, and its care should come as second nature to you. Letting your car catch rust or allowing it to lose its lustrous exterior is a huge ‘no-no’, and the same goes for its interior. No one wants to go for a ride in a smelly car. A pram is where your child sleeps, eats, plays, and explores the world. To keep things fun, enjoyable, and comfortable for your baby, you have to ensure that their ‘residence’ remains clean, tidy, and devoid of unpleasant odours. Yes, this may seem like more work, but, as we always say, your baby’s needs are non-negotiable. To keep your pram in tip-top condition, there are several things that you can do regularly. These actions will help you and your baby so let us walk you through a few helpful tips.
Note: Regular maintenance would keep your pram in pristine condition while keeping its functionality intact. You don’t have to do an inch-by-inch clean-up every single time you take your pram out for maintenance. However, we recommend that you do a ‘deep clean’ at least twice a year.
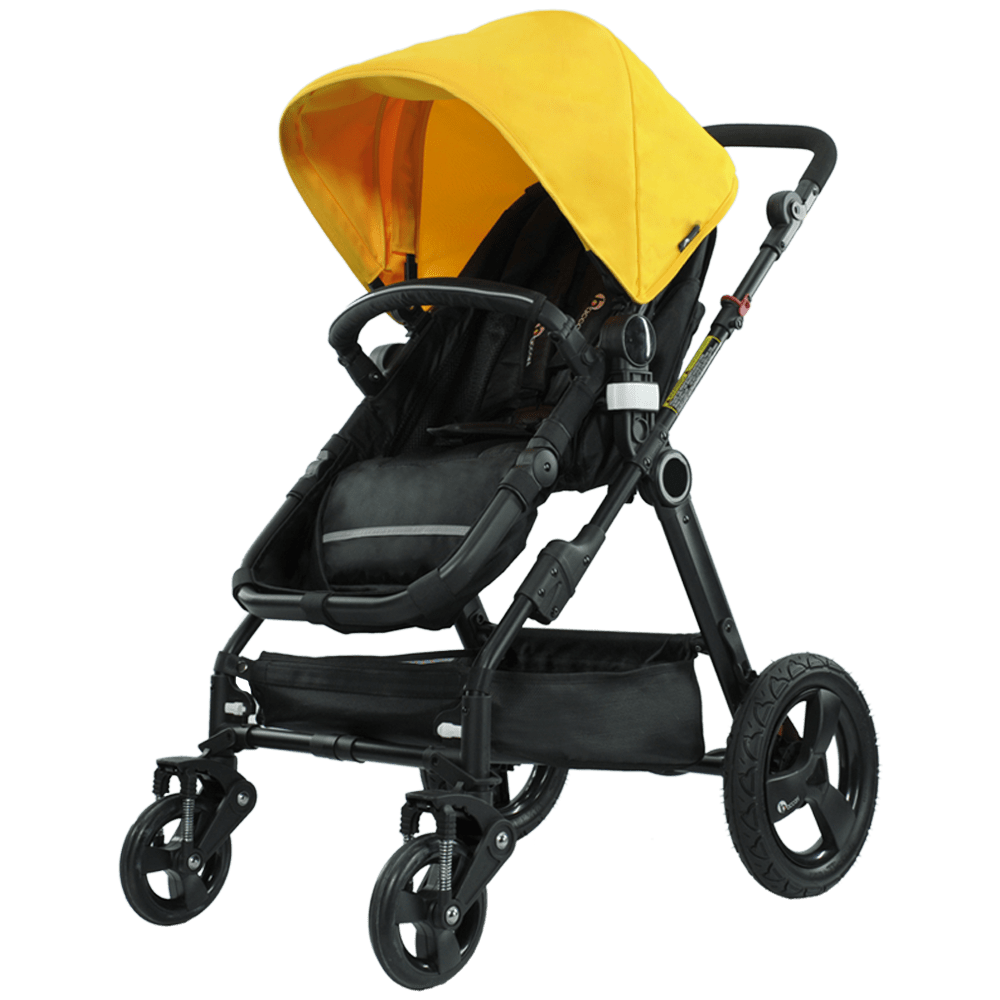
Step 1: Refer to Your User Manual
Most prams and strollers are sold along with a user manual that provides a basic rundown of fundamental care. The user manual is usually equipped with a detailed breakdown of the parts and components of your pram. It also comes along with comprehensive instructions on removing the specific elements of your pram for cleaning and maintenance.
Step 2: Start with Your Accessories
Start with your fabric accessories. Generally, the fabric components of a pram or stroller can be machine washed without any hassle. Set your machine up to a ‘delicate’ or ‘wool’ setting. Don’t forget to ensure that the temperature does not exceed a temperature of 30°C.

Use a mild detergent and fabric softener according to your preference. A good smelling pram is always a bonus. After washing, straighten the fabric out and leave it out to dry in the shade. Placing it under direct sunlight would result in the colour burning off in certain fabrics. Therefore, a shady surface is highly recommended.
For your plastic accessories, use warm and soapy water. After cleaning them thoroughly, rinse the parts and let them dry under the sun.
Step 3: Dust On – Dust Off
Your stroller is like your baby’s residence. Therefore, the accumulation of dirt, crumbs, and dust is inevitable. Use a vacuum cleaner to give your pram a thorough cleansing. You can also use a brush for this purpose. Suppose your vacuum cleaner or cleansing brush cannot reach the tiny particles hidden beneath certain nooks and crannies, especially beneath the joints and moving parts. In that case, you can use a soft toothbrush to clean them up.
It is advisable you pay special attention and care to clean out the following parts and accessories:
- Belly bar sockets
- The handlebar
- Safety harness and buckle
- Seats recline latch
- Canopy connectors
- Folding joints (collapse the frame when doing this)
- Inside the wheel hubs (front & rear)
- The area where the brake connects to the wheel
- In and around all buttons
Step 4: Wipe! – Time To Get the Liquids Involved
First, use a soft sponge or a cloth and soak it in warm water with a mild detergent. Use this to give your dusted pram a thorough cleansing. While doing so, you may encounter a couple of tricky spots that simply refuse to leave your pram alone. Let’s see what can be done about those:
-
Mould
– The best natural substance to remove mould is clove oil. Add the clove oil (about a regular bottle cap) to a spray bottle, add 2 tablespoons of salt and fill it with warm water. Spray the solution directly onto the mould. Then give it a thorough scrubbing, which would loosen up the mould spores. Leave this for around 1 hour and use a cloth and a bucket to wet the surface again and wipe it off. This will ensure that you completely wipe off all traces of the fungus.

Note: Clove oil can leave a residual brown streak on fabrics and may cause allergic reactions in some people. You may use a solution of white vinegar and water mixed at 3:2 respectively, as an alternative.
-
Stubborn Stains –
For tough stains, use a solution of white vinegar and water mixed at a 1:1 ratio. You can also use vinegar with bicarb. As we did with the mould, use a spray bottle, directly spray it onto the stain, and leave it for a few minutes. Afterwards, use a cloth to wipe it down and rinse the spot well with clean water.
Note: Using vinegar will cause some damage to the colour, depending on the fabric. Use it at your own discretion.
Step 5: Cleaning the Wheels
Before you start cleaning your wheels, you should remove them. Please do refer to the user manual for instructions on how to remove your wheels. Use the same cleaning solution of a mild detergent and warm water and spray it directly onto the wheels. Use a hard brush and give them a good scrub to remove all dirt and build-up. Make sure that the elusive dirt around the wheel hub receives your undivided attention as well.
Step 7: Lubricate Joints & Moving Parts
It is essential that you quickly inspect the moving parts in the pram and ensure that they are in perfect working condition. These parts are:
- Locking Devices
- Harness
- Catches
- Joints
- Brakes
- Fixtures
Upon inspection, if you feel like any of the devices are difficult to operate, remain stiff/immovable or create a squeaking noise due to friction, it is due to a lack of lubrication.
To lubricate these parts, use a sprayable silicone lubricant. Ensure that the lubricant is applied evenly through every single part, including areas that remain elusive or difficult to access. Excessive lubrication may increase the build-up of dirt. Therefore, you should only use the necessary amount.
Step 8 – Final Touch-ups
Once your pram is air-dried, you can do some paint touch-ups to improve its appearance. For example, in a pram with a black or darker coloured frame, scratch marks and other signs of damage are more visible to the naked eye. Therefore, you can use some paint and spray over the frame to keep the pram in pristine condition.
Prevention Is Better Than the Cure
-
Rust, Mould & Mildew
Regularly tending to rust and mould build-up in your pram can be a gruelling task. To ensure that your hassle remains minimum, you should take some preventive measures.
Suppose your pram is exposed to wet or damp conditions. In that case, you should leave it fully opened in a ventilated, warm environment to air dry and prevent the build-up of rust and mould. If your pram got really wet, you could use a soft lint-free cloth to wipe it up before leaving it to dry. With the fabrics, you can detach the soaked parts from the pram and put them in the dryer. If you do not take these preventive measures, rust, mould, and mildew build-up is inevitable.
-
Structural Damage
Refrain from leaving your pram inside your car on days where the weather sides with extreme heat. Similarly, do not leave it near any heat source or fire. When storing the stroller, do so in a safe, dry and well-ventilated place while ensuring that you do not place heavy items on top of it. To avoid the colour burning out and fading, be mindful of leaving the pram under direct sunlight for extended periods.
-
Spare Parts
When replacing dysfunctional or broken parts of your pram, make sure to purchase spare parts that comply with the latest safety standard – AS/NZS 2088:2013.
Well, that’s about all the tips we can offer! Once you buy a pram, maintenance comes along with it. To ensure that your pram serves its entire period of durability, you have a role to play in it as well. It is your job being the parent to ensure that your child is comfortable and safe at all times. Follow our instructions to a ‘t’, and you will be fine! Whenever you need more help or guidance, do a little bit more research online, and you’ll be good to go!
We hope you found this information useful. If you have any difficulty following the given instructions, then please get in touch with your manufacturer. They will be happy to help. Until next time then! Happy parenting!